The Ultimate Guide To Tile Installation San Antonio
Wiki Article
Tile Installation San Antonio for Beginners
Table of Contents7 Easy Facts About Tile Installation San Antonio ShownThe Ultimate Guide To Tile Installation San AntonioHow Tile Installation San Antonio can Save You Time, Stress, and Money.The Ultimate Guide To Tile Installation San AntonioThe Only Guide to Tile Installation San AntonioThings about Tile Installation San Antonio
Utilize this same technique to establish each tile, making one row along the straightedge. Using floor tile spacers guarantees also joints.For straight cuts with waste less than an inch wide, score ceramic tile on snap cutter, then break items off with nibblers or use a wet saw. To fit a floor tile around an outside edge, hold one edge against the wall surface and also mark the floor tile where it touches the edge. Pencil a line right throughout the floor tile.
For bent or scribed cuts, make parallel slices with the damp saw into the waste area, as much as yet not past the line noting the cut. Break away the staying "fingers" with nibblers. After floor tile sets overnight, utilize a margin trowel to remove any kind of thinset from the ceramic tile surface area or in the joints.
The Definitive Guide for Tile Installation San Antonio
Setting up a ceramic floor tile floor might show up to be past the capabilities of some homeowners, but many DIYers can handle it. Set up ceramic floor tile over a subfloor that's no much less than 1 1/8 inches thick.
A bending subfloor cause fractured tiles and cement and also a great deal of frustrations. The majority of floor tile suppliers advise mounting a cement backer board rather of any other sort of underlayment, such as plywood. The boards come in 3-by-5-foot sheets and are readily available where floor tile and cement are offered. After you establish your standards or design lines, it's time to mount the floor tile: Prior to you consider establishing the tile in place with mortar, make certain that the design is even from side to side in both directions.
Some Ideas on Tile Installation San Antonio You Need To Know
One essential dimension to note is the width of the ceramic tiles that fulfill the wall. See to it you never have much less than fifty percent of a tile's width at the wall surface. If you do, readjust the format until you get an appropriate end tile dimension. After you develop this, snap a brand-new design line to comply with.Use a scratched trowel to spread out thin-set mortar over a 3-by-3-foot section at the crossway of the format lines - tile installation san antonio. Trowels come with different-sized notches, so examine the ceramic tile producer's referral for the right size. Functioning in tiny, square areas say 3 feet by 3 feet is essential. If you deal with a larger area, the mortar might set (referred to as establishing) prior to you put the floor tiles in location.
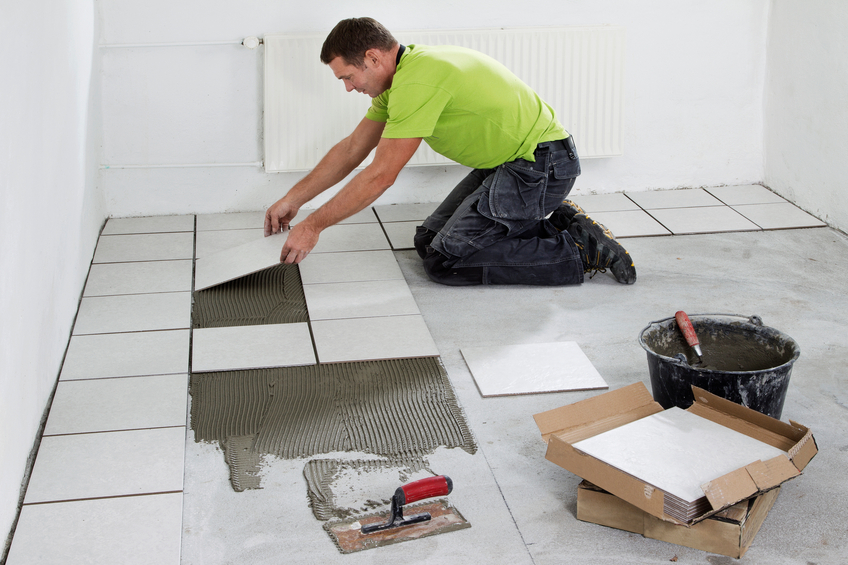
Begin laying floor tiles at the center factor of the two layout lines, establishing each floor tile right into the mortar by tapping it delicately with a rubber club. Use plastic spacers at each tile edge to keep even grout lines between the tiles.
Tile Installation San Antonio Fundamentals Explained
Mark the loosened floor tile as well as reduce it to fit along the edge. The tiles are set in the mortar, blend the cement according to the producer's directions and also install it by utilizing a rubber grout float.
For the majority of installations, you require a floor tile cutter, which you can rent out. To make a straight cut with a ceramic tile cutter, simply position the tile face up in the cutter, change the cutter to the proper width, as well as score the floor tile by pulling the cutting wheel across the floor tile's face.
Some Known Incorrect Statements About Tile Installation San Antonio
A tile nipper is similar to a pair of pliers, yet it has actually set cutting edges for puncturing ceramic floor tile.There are 2 various vinyl tile installment approaches. Most products include a peel-and-stick installation, where you merely eliminate the liner sheet from the back of the floor tile and stick the floor tile to the floor. We do offer pick items that call for a full-spread glue installation. Vinyl ceramic tile installation can be done throughout the house, as long as it's a tile installation san antonio flat, degree surface area, yet we do not suggest installing on stairways.
These contractors are specifically educated to mount our products, so you can relax guaranteed that your new flooring will certainly not only look fantastic, yet will certainly be mounted correctly with guaranteed outcomes. Thoroughly assess the comprehensive directions for your floor covering to discover what you'll need and what to anticipate. Do this well beforehand.
The Facts About Tile Installation San Antonio Revealed
Examine your installment guidelines for specifics - tile installation san antonio. Bring the installment location and products to area temperature level for 48 hours prior to setup.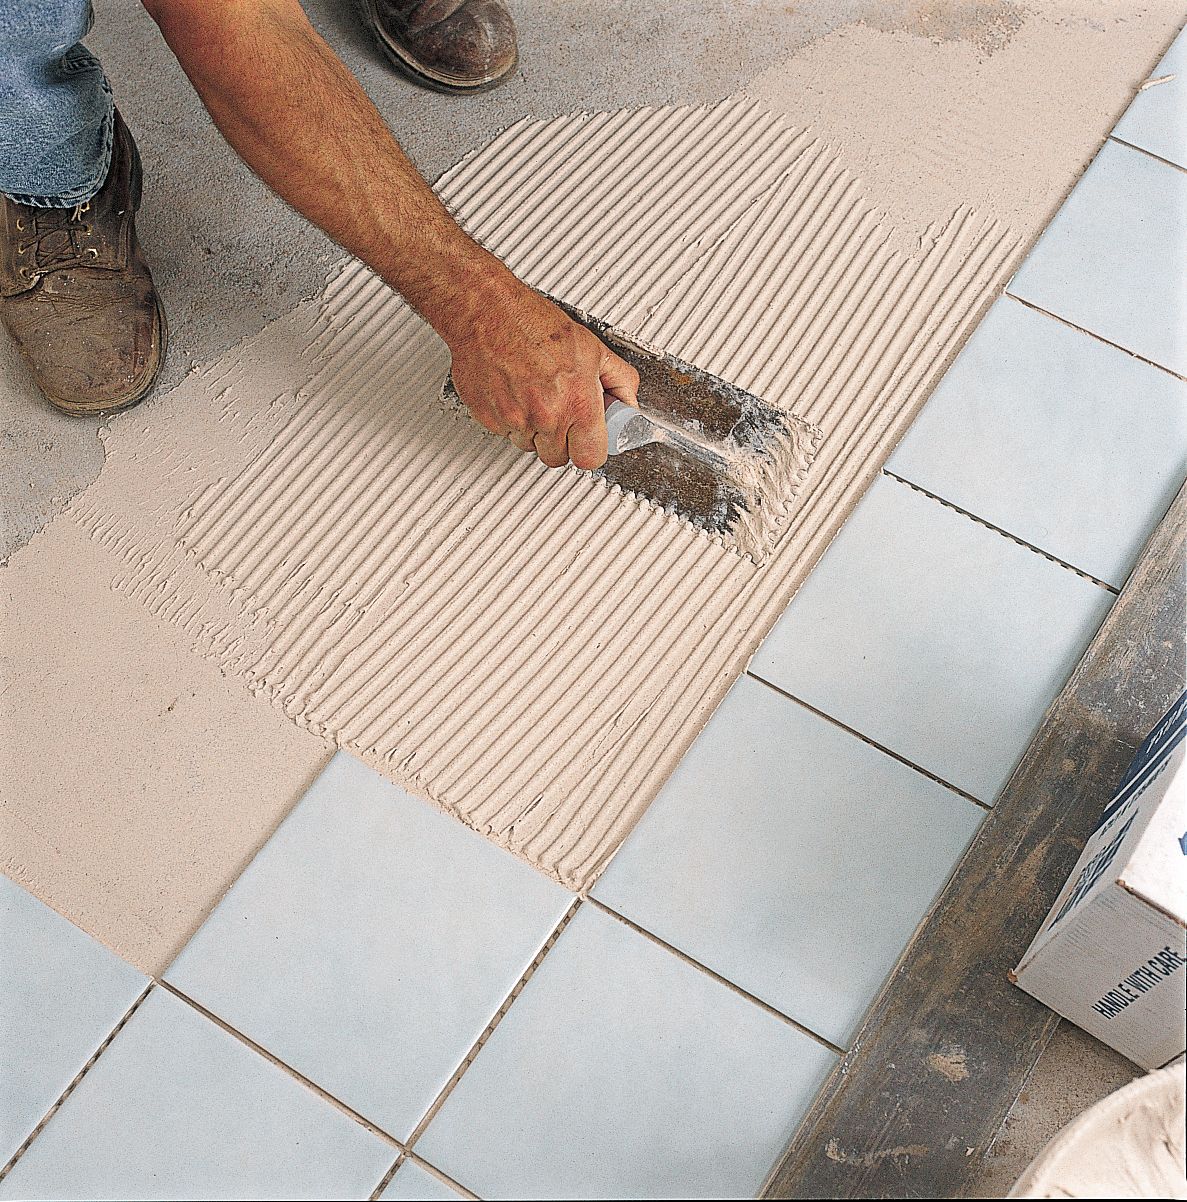
Report this wiki page